Cutting the coins by program Photoshop
We change scene of the coin
Article for those who want to cut the coins with the aid of Adobe Photoshop and place it, for example, on its website.
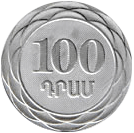
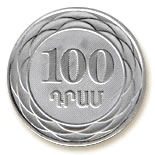
Example: take a coin in the format eg *. Jpg, Figure 1. Our task is done, as in Figure 2, in the format *. Gif.
 |
 |
Drawing 1 |
Drawing 2 |
Use standard program Adobe Photoshop 7.0, open our coin in this program.
Keyboard reduction in Adobe Photoshop 7.0:
| "Ctrl +" picture increases | "Ctrl 0" picture on whole screen |
| "Ctrl -" picture decreases | "Ctrl D" removing the separation |
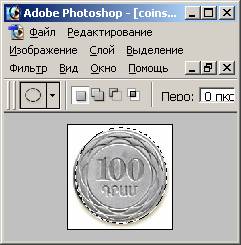
Making the image on the screen Ctrl 0. Left in the toolbar (in the menu "Window-tools" should be checked), select the tool "Elleptichesky" (the top left button on the toolbar), we use them. The tool is selected, rasstyagivaem circle with the left mouse button to circle around inside was my coin, shown in Figure 3.
 |
 |
Drawing 3 |
Drawing 4 |
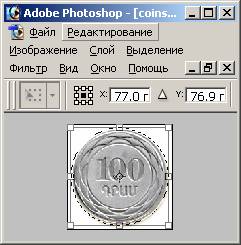
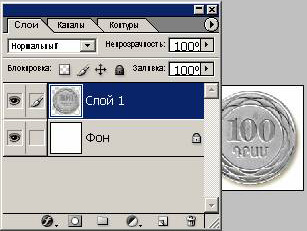
The Mouse on coin clique the right button, choose the command "to Convert the separation" (the drawing 4). We Sprain the borders of our circle before borders of the coin and remove the separation by key ESC. Hereinafter we choose the command in menu "Layer - New - a Layer Through Cutting". Appeared new layer, is identified "Layer 1" (drawing 5).
 |
 |
Drawing 5 |
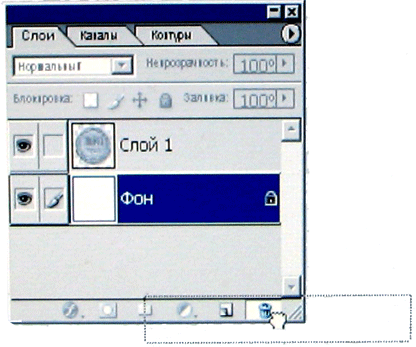
Drawing 6 |
Layer "Background" was superfluous, remove it, left click drag it into the ballot box. The urn is bottom of the bookmarks "layer" on the right (Figure 6).
We Change size of the scene
Go to the menu "Image - Image Size." Here the author usually takes the values: Permit 72, the height and width equal to 5 cm.
We Save scene in format *.gif
The coin is ready, it remains to be retained. Go to the menu "File - Save for Web ...", came out the window. Top right button, "Save" Hit it if you want to change the file name when saving.
Note:
A. To cut unnecessary borders in Photoshop toolbar has a tool "Crop (C)."
Two. If in the process will not receive the command "Layer - New - Layer Through Circumcision", then go to menu "Edit - Copy." Next on the menu "File - New" will be a window, click "OK." Then again in the menu "Edit - Paste." And in the "Layer" see that we have two layers. The rest, as described above, remove the layer "Background" and save the menu item "File - Save for Web ..."
Our image is ready, we have a standard extension *. Gif for WEB pages.
